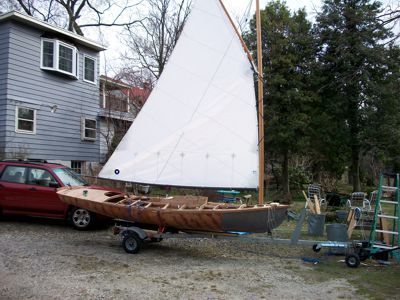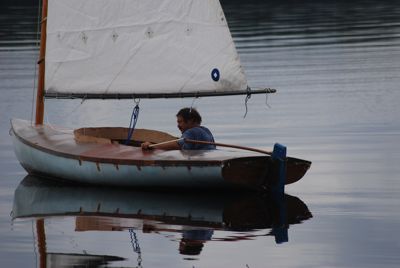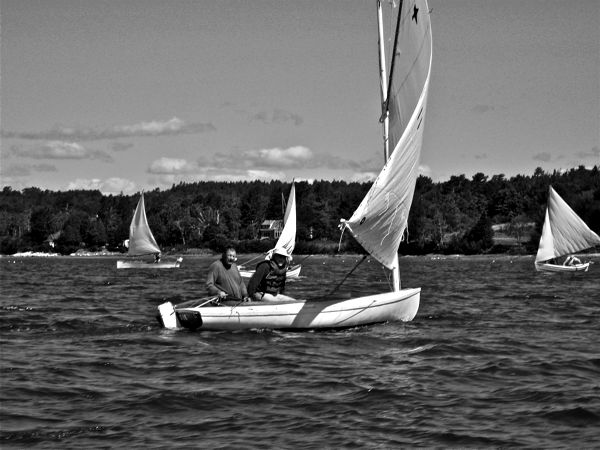
MOGGIE at the Small Reach Regatta
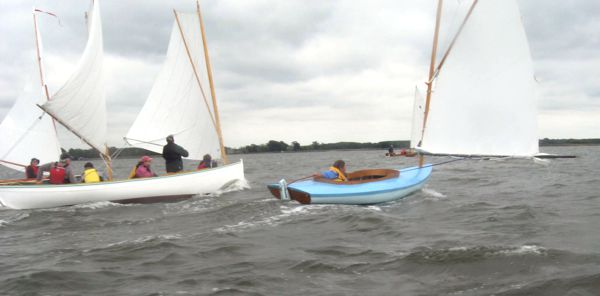
Mike and Moggie flying at the MASCF 2011
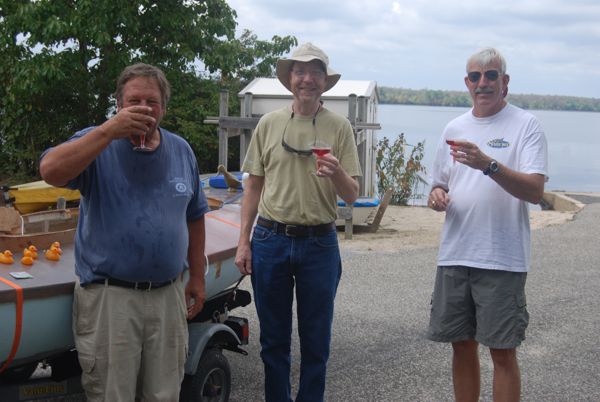
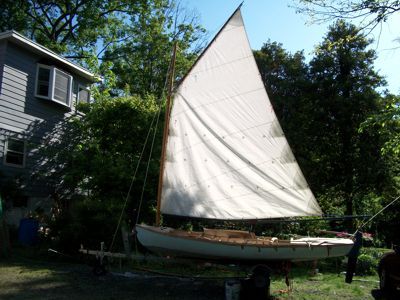
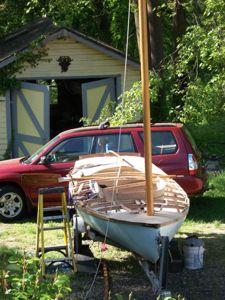
The Launching at Union Lake September 2011
“How come two melonseeds?”
Mike Wick
Ten years ago, John Guidera and I met and started sailing together. I had a small MacGregor decked Sailing Canoe, and he had a Tomas Firth Jones designed Melonseed. We sailed along the Maryland and Virginia barrier islands, Assateague, Chincoteague, Wreck, Paramore. My canoe was too small for this kind of sailing and camping, so I found a Bolger Gypsy in bad condition. I fixed her up until the point where there was almost nothing left of the original boat, and she became a great camp cruiser. Still is. But, thanks to my sailing with John, I was in love with Melonseeds
Down in Cortez, Florida Roger Allen had designed a 16 foot melonseed, a Cortez Melonseed. David Lucas started building them in his open air shop. He and his friends built about nine boats. This was my chance to get a melonseed of my own. I arranged to give a presentation at the monthly meeting of our Delaware River Chapter of the TSCA and see if I could talk our members into building a few boats Carl Weissinger had built a lovely 16 footer named JOLLY CODGER to John Brady’s design, and I asked him to bring along his pictures, because the two designs were almost identical. He said he would, but he also said “She is for sale, Cheap.” That’s how I got my first melonseed.
My wife objected to the name, JOLLY CODGER, saying one of the words was false advertising. She wouldn’t say which word. Since melonseeds used to be called pumpkinseeds, I renamed her PEPITA. As soon as spring arrived John and I trailered our melonseeds down to Cortez for the festival there. We had a wonderful time, gunkholing, racing, and partying in Cortez, Sarasota, and Cedar Island. During the race for the famous Mullet Cup, David Lucas beat me by about a boat length; That was my big mistake. David is a fine sailor, how could I make up that boatlength. I considered every “go-fast” Vectran, Robline, Dynema, Titanium, spent uranium ballast, I went down the list but nothing seemed very practical.
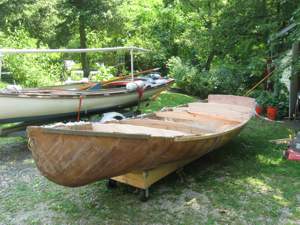
David solved my problem. He didn’t even ask, he just built a new bare hull and gave it to me. I heard about it from friends. That’s a man who knows he is a good sailor. So, I drove an empty trailer to Florida and picked up my new hull, planted her in my garage and slowly began building my new Cortez Melonseed. I couldn’t beat such a good sailor as Dave with an identical boat, so I used the bare hull as a male mold and cold-molded my new hull around it. As soon as I got my boat, MOGGIE, to the fruit-bowl stage, I popped her off David’s hull and passed that on to Roland Anderson. |
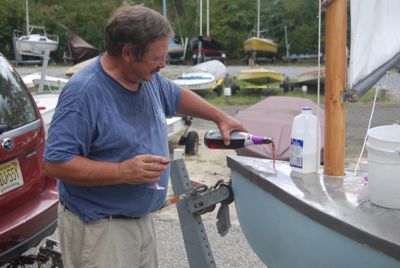
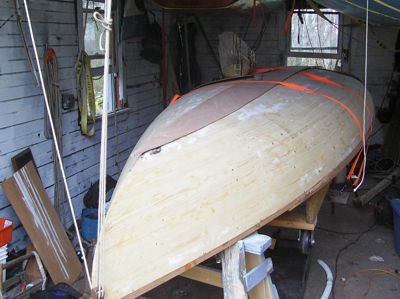
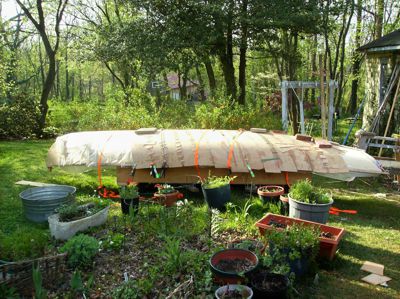
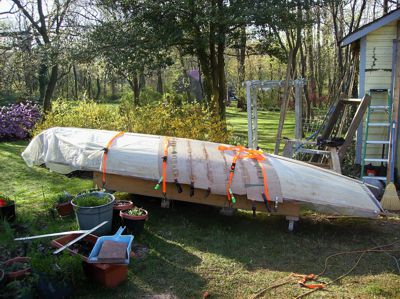
Now, I am on the home stretch with rig, hull, deckbeams, rudder, centerboard all finished. I am waiting for some milder weather to finish up. My garage is under a foot of snow right now, but once I dig it out, it’s back to work. Heatlamps, propane heaters, tarpaulin tents help with the temperature. I am excited about building the plywood deck. I put a deck on my Bolger Gypsy out of 4 mm occume, but even with fiberglass on both sides, I get a little oilcanning from that deck, so MOGGIE’s deck will be 5mm. Two sheets of ply are each cut into two pieces to make four corners of the deck. I want the deck to be cloth and epoxy on both sides, so I will make a curved cradle and nestle each section into the cradle. Then I epoxy the cloth on the bottom side and wait until it reaches the green stage, but not too green. At just the right moment I carry it over to the boat and capsize it into place. I quickly fasten each quarter of the deck down onto the deckbeams and the gunwales. “Will it work ?” I hope so.
Moggie's Cut List
Once my boat is all finished, then the fun begins. My boat will be identical to David’s LAYLAH, but David is a good sailor.
“Will I be able to beat him ?” |

Five staves are temporarily laid out on the starboard side, (port side while she’s inverted, but I will call it starboard, at this stage). I ooched them back and forth to try and find the best lie. At these wide stations near the middle, best angle seemed to be about fifteen degrees forward of vertical. As I worked further forward, and the hull narrowed, there was less edge set if the angle were more like 20 degrees, so I made wedge shaped staves wider at the gunwale and narrower at the keel. All staves are cut from 3mm occume. I had allowed for possibly using thinner stock or steaming , but it wasn’t necessary
|
Four staves are fitted on the starboard side; they are glued only to the keelplank and to to each other’s edge. In this picture you can see the temporary transom and the cradle mounted on castors. |
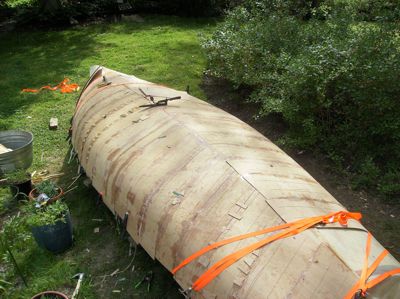
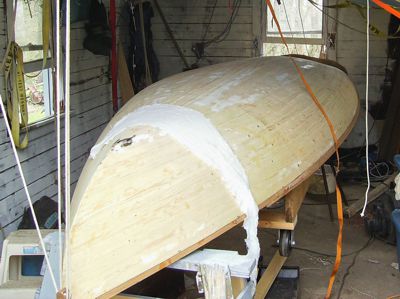
Now the extra inner layer of stem has been added. I guess this should be a wooden stem, but that won’t work when a real boat serves as the mold. I don’t dare carve out a gap in the bow to fit a regular stem, when the hull will be passed on to another owner. Adding extra layers of ply, glass, and filler quickly strengthen the bow as much as if a wooden stem were fitted. This is a technique that Joe Dobler perfected in his catamarans and the Dobler 16. Here you can see how the port staves lie down over the starboard staves at the keel.. The temporary transom can be seen under the dropcloth. It is fastened to the topsides only with drywall screws so it can be removed before the hill is popped off the mold. |
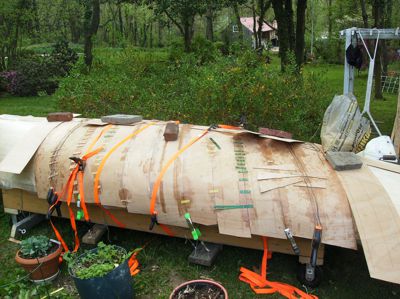
Now, on the starboard side, the first layer is ¾ complete, while seven staves of the second layer are glued securely to the first. Straps and weights and clamps aren’t so necessary now, and staples draw the layers together. The shape is growing very strong. Occasional holes should have been drilled in the first layer so that glue dribbles out. This prevents air pockets between the two layers.
|
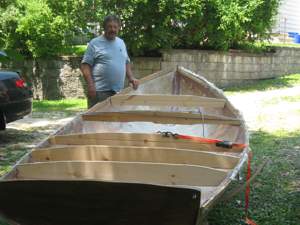
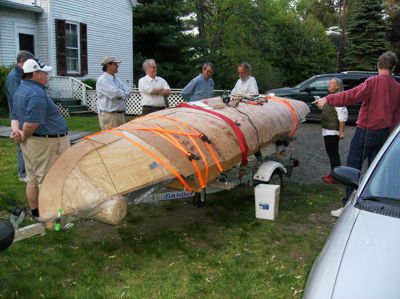
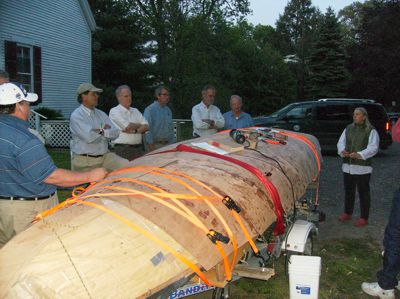
 Inspection time. The hull and mold are still together as you can see in the bow. I loaded the construction on my trailer and drove to a Chapter Meeting at the Red Dragon Canoe Club for our monthly meeting. Tools, books, and various samples are arranged on the hull for inspection and presentation before a knowledgeable and critical crowd. Suddenly all my errors are apparent, at least to me. John, Pete, Ron, Carl, Wendy, and Phil are the surveyors in this picture. Inspection time. The hull and mold are still together as you can see in the bow. I loaded the construction on my trailer and drove to a Chapter Meeting at the Red Dragon Canoe Club for our monthly meeting. Tools, books, and various samples are arranged on the hull for inspection and presentation before a knowledgeable and critical crowd. Suddenly all my errors are apparent, at least to me. John, Pete, Ron, Carl, Wendy, and Phil are the surveyors in this picture.
|
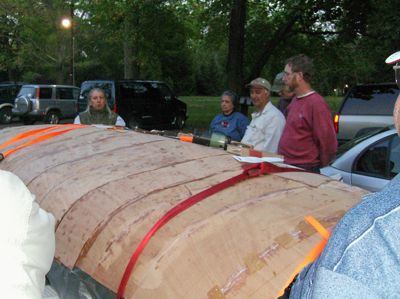
A different angle. You can see my copy of Chapelle, a laminate trimmer, and scrapers layed out for inspection. Wendy, Marilyn, Tom, Chuck, and Phil appear to give their approval to the work so far. |